To create an interior design website, start by deciding who it is for and what it must say, then plan your pages, gather photography, write your service and project content, choose a platform, design the pages, set up search basics and launch. Most studios do this in the opposite order, choosing a template first, and then struggle to fit their business into it.
Below is the order we recommend, with notes on where studios usually get stuck and how to avoid it.
Decide who the website is for
Write a short description of your ideal client: the kind of home, the type of project, the location and roughly the investment involved. Then note the services you want to be known for and the areas you serve. Everything on the site should help that person understand that you are the right studio.
This step takes an hour and saves weeks later. When you know who the site is for, decisions about photography, wording and layout become much easier.
Plan your pages
Start with a simple page list. A typical studio needs:
- Home
- About
- Services, with a page for each core service
- Portfolio, with a page for each project
- Press or recognition, if relevant
- Contact
- Privacy policy and any other required pages
Some studios also add location pages, a journal or a shop. Our article on what an interior design company website should include gives a fuller checklist, and our guide to selling products on an interior design website helps if you are considering a shop.
Gather and select photography
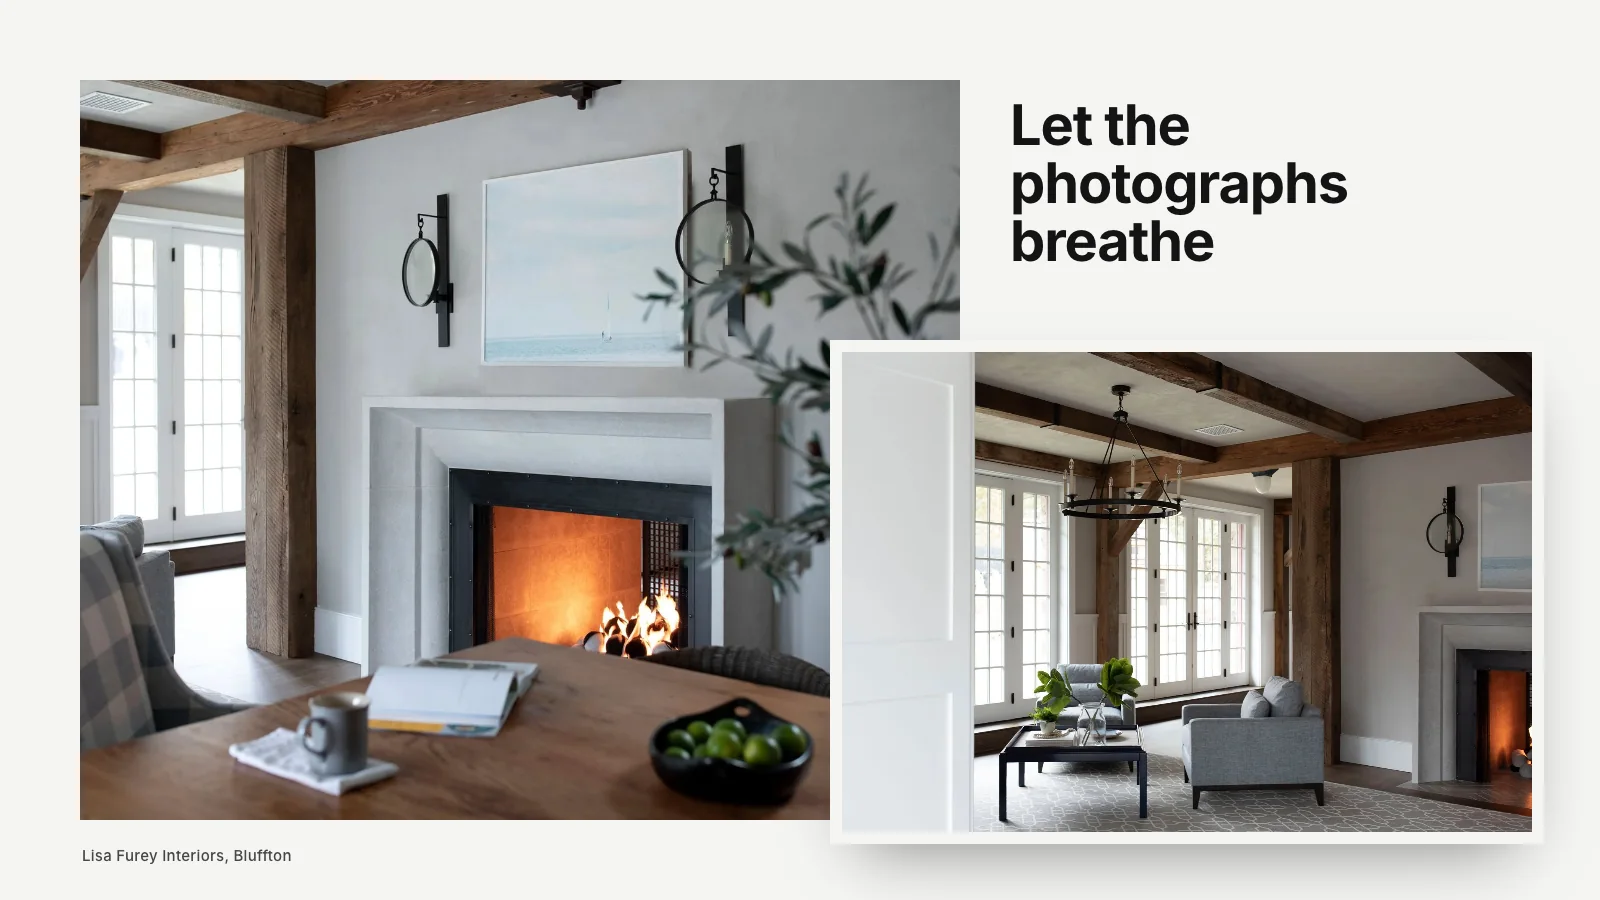
Collect your best professional photography and choose six to twelve projects that represent the work you want more of. For each project, select a strong opening image, a set of wide and medium shots and several details. If some projects lack good photography, decide whether to reshoot or leave them out.
Photography almost always takes longer to organize than expected, so start early. Our guide to using images on an interior design website explains sizing and naming.
Write the content before designing
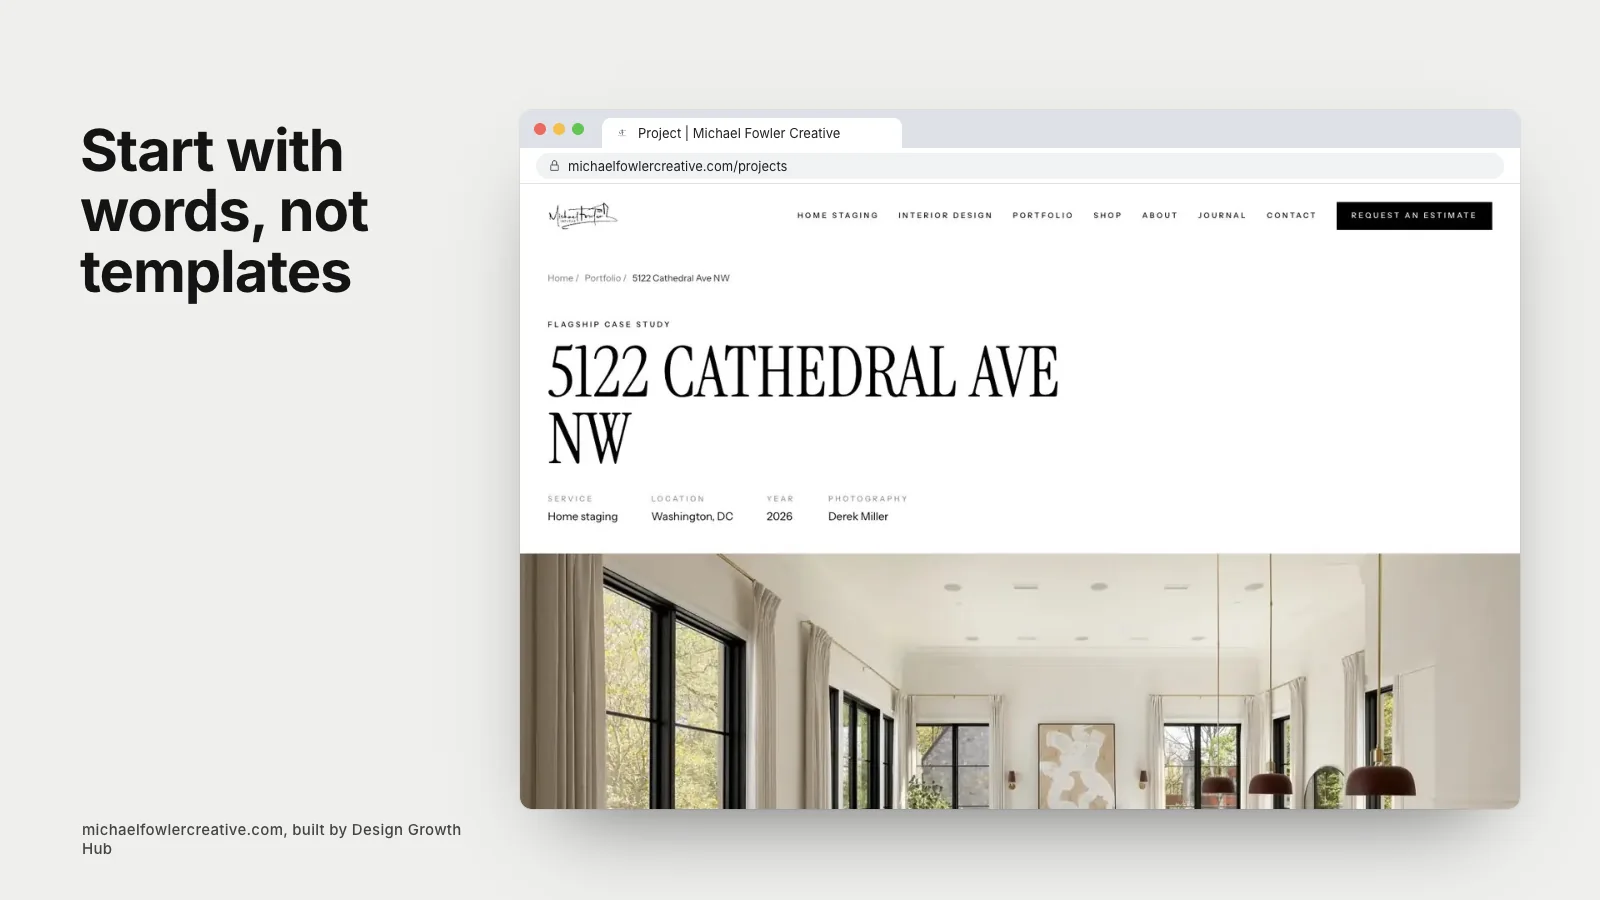
This is the step most studios skip, and it is the one that matters most. Write your home page introduction, about page, each service page and a short story for every project. Keep the tone close to how you talk with clients. Be specific about what you do, where and for whom.
You do not need perfect copy at this stage. You need enough real content that the design can be built around it. Designing around placeholder text usually leads to pages that look good in a mockup and feel empty once real words arrive.
Choose a platform
With your content in hand, the right platform becomes clearer. Squarespace and Showit suit smaller, visually led sites. WordPress or a custom build suits studios that need more pages, more control or a distinctive design. Our guide to choosing a website builder as an interior designer compares them. You might also be curious about building an interior design website with AI tools, which can help with drafts but rarely replaces careful design.
Design the pages
Start with the home page and a single project page, since they set the pattern for everything else. Choose readable type, a calm color palette and generous spacing. Use consistent layouts so each project and service page feels part of the same family.
Be cautious with heavy effects. Subtle motion can feel crafted, but long animations and autoplay video often slow the site down. Our article on whether animated interior design websites help or hurt discusses where to draw the line.
Build the portfolio properly
Each project should have its own page with a title, introduction, project facts, story, gallery and captions. Organize projects by type once you have enough. Our guide to building an interior design portfolio website covers this step in depth.
Set up the search basics
Before launch, make sure every page has:
- A unique, descriptive page title and meta description.
- One clear main heading and logical subheadings.
- Clean, readable page addresses.
- Descriptive alt text on project images.
- Your business name, address or service area and contact details, written identically everywhere.
- Structured data describing your business, if your platform allows it.
Also connect Google Search Console and an analytics tool so you can see how people find and use the site. Our article on Google Search Console for beginners walks through setup.
Test before launch
Check every page on a phone and a laptop. Click every link. Submit the contact form and confirm you receive the message. Read every page aloud once to catch awkward phrasing. Ask someone outside the industry to find a project like theirs and send an inquiry, then watch where they hesitate.
Launch and connect everything
When the site goes live, update your Google Business Profile, Instagram bio, email signature and any directory listings with the new address if it has changed. If you are replacing an old site, set up redirects from old page addresses to new ones so existing links and rankings carry over.
Keep improving after launch
A website is never truly finished. Add projects as they are photographed. Refine service pages as you learn what clients ask. Review search data every few months to see which pages people find and which they leave quickly. Small, steady improvements matter more than a perfect launch. Our guide to the interior design website for growing studios explains how a site evolves as a studio grows.
When to bring in help
Many designers build their first site themselves and do well. If you are short on time, outgrowing a builder or want a site that competes for larger projects, our website creation service handles planning, writing support, design, build and search setup together. If you would like a second opinion first, request a studio review.
Strengthen your Google + AI visibility
The studios that get found are not always the best. They are the clearest. Let us make yours easier to understand and recommend.
Request a Studio Review